Then suddenly spot luck (no pun intended).... Picking up the assembly from the "donor" Armdroid, the shoulder spindle quite literally fell out.... On my other Armdroid, this was seized solid, and previously assumed this was meant to be fixed in place. This made me wonder if this could be the cause of the problems....
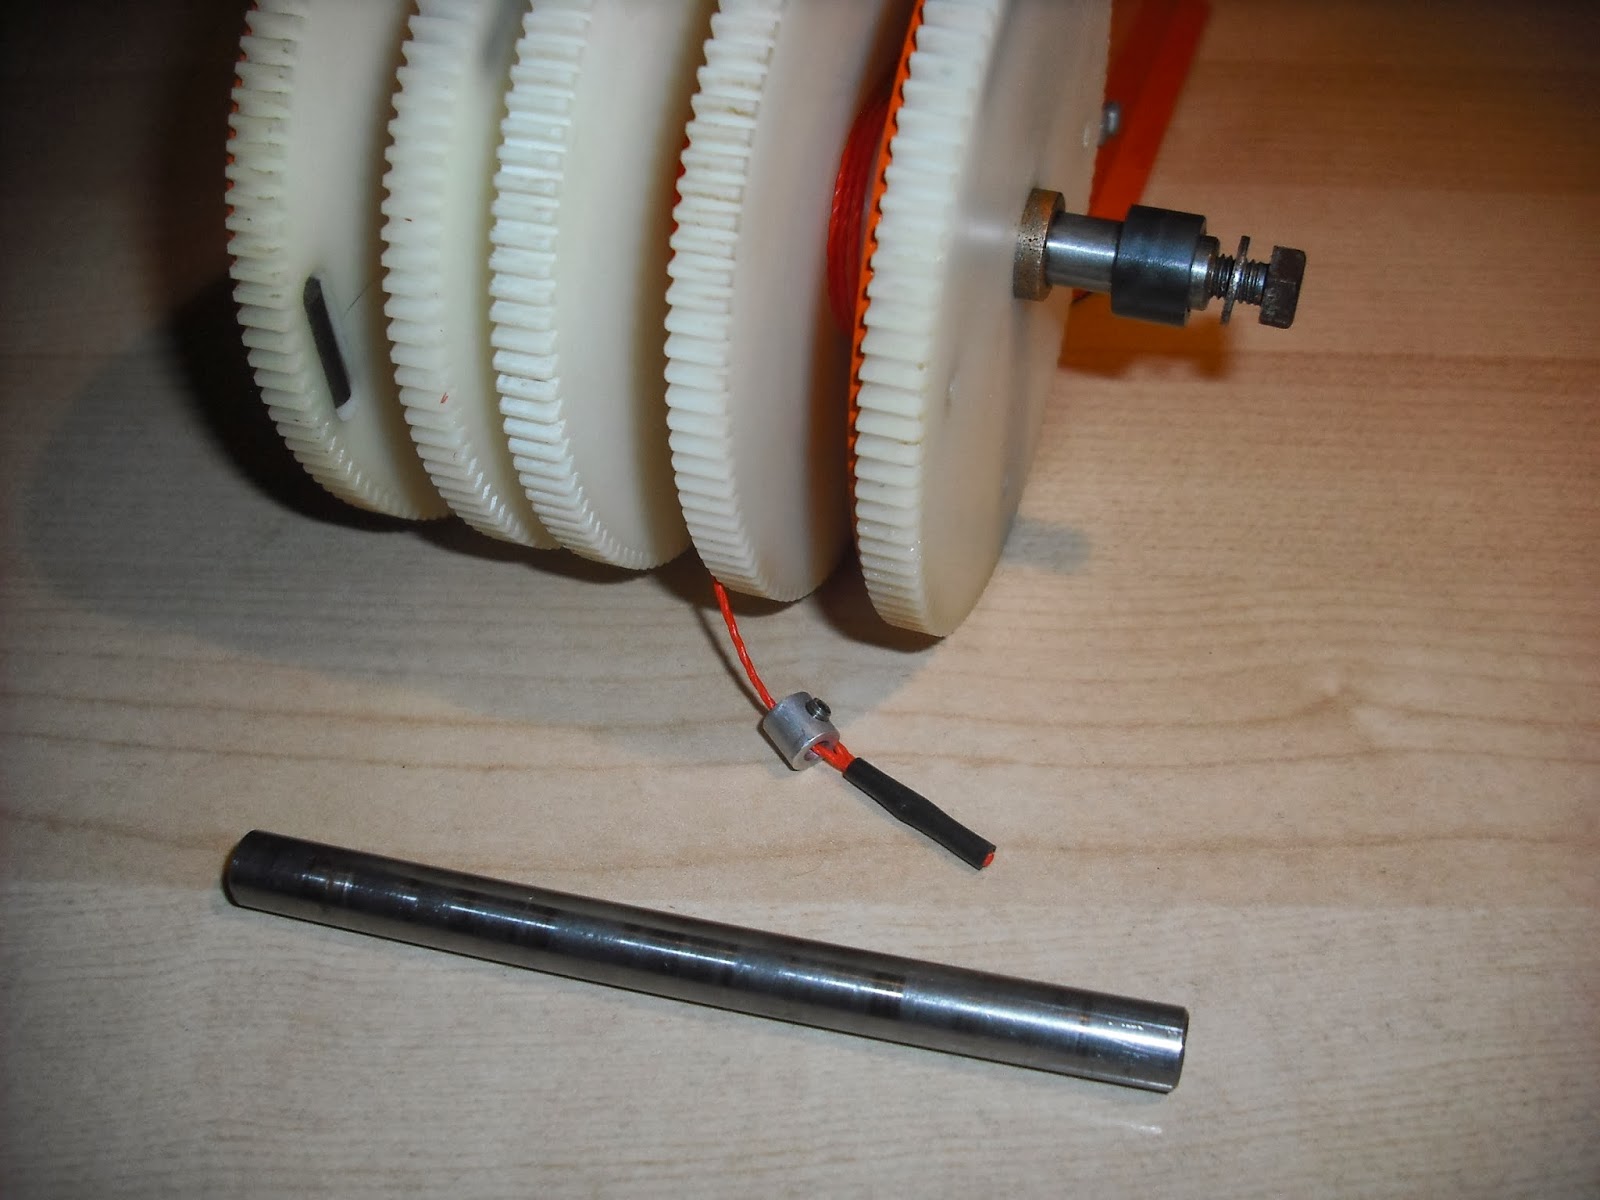
The spindle i'm referring too is the one pictured below extruding from the large drive gears:
Colne Robotics part no. 117 (8mm x 95mm / tapped with M5 threads)

I decided to take the spindle out and have a closer look what's happening:
By using the spindle from the donor, this was driven into the shoulder by lightly tapping with a small hammer, pushing out the spindle. The idea was to keep all the spaces in place and not loose anything in the process.
There was some light rust which was rubbed down with Wet & Dry, then lubricated with WD-40. This was then tapped back into the shoulder and with a little persuasion this has freed up nicely.
After aligning the gearing, I slowly and carefully eased the assembly back into the shoulder:

At this point, before bolting everything tightly into place, I checked for tight spots, and so far, everything is running freely. I carefully separated the drums with a small screwdriver and squirted oil with my precision oiler between all drums/spaces/bushes.
Without power applied to the motors, it's very easy to manually articulate the arm checking for tight-spots.

Sweet... No tight spots, and no "clunks" coming from the gearing... Things are starting to look promising!
 I cannot recommend enough doing this yourself, if you have any problems with the upper arm movements on your Armdroid. If you don't have a spare spindle, any M8 bolt of sufficient length could be used to drive out your spindle.
All that's left to do now, is re-string the broken finger cable, and finally tighten and tension all controls...
When it comes to re-stringing, the best advice I can give is follow the blueprints. Study the diagrams until you understand what string goes over or under each of the pulleys.
I popped down to my local Staples and asked them to print the blue-prints on A2 drawing size. I found this made following the string routing much easier on the eyes.
You will need a very sharp pair of scissors to cut the Kevlar - you'll never believe it, but since last summer our best pair was struggling to make decent cuts without frying the ends. Another tip - a very good pair of steal tweezers, the type surgeons use, and you'll have no problems at all, but be warned.... you need lots of patience, restringing an Armdroid is not the most pleasant of jobs.
Bull dog-style clips come in very handy....


The excess string will be left until final adjustments have been made.... but this just about completes all the mechanical work....
Roll on next weekend, and we'll see how this performs at the Peterborough Raspberry Jam. I will be demonstrating the Armdroid at the Show & Tell. That said, I had better blow the dust of my Raspberry Pi and start work making the Pi tell the Arduino what to do.....
No comments:
Post a Comment